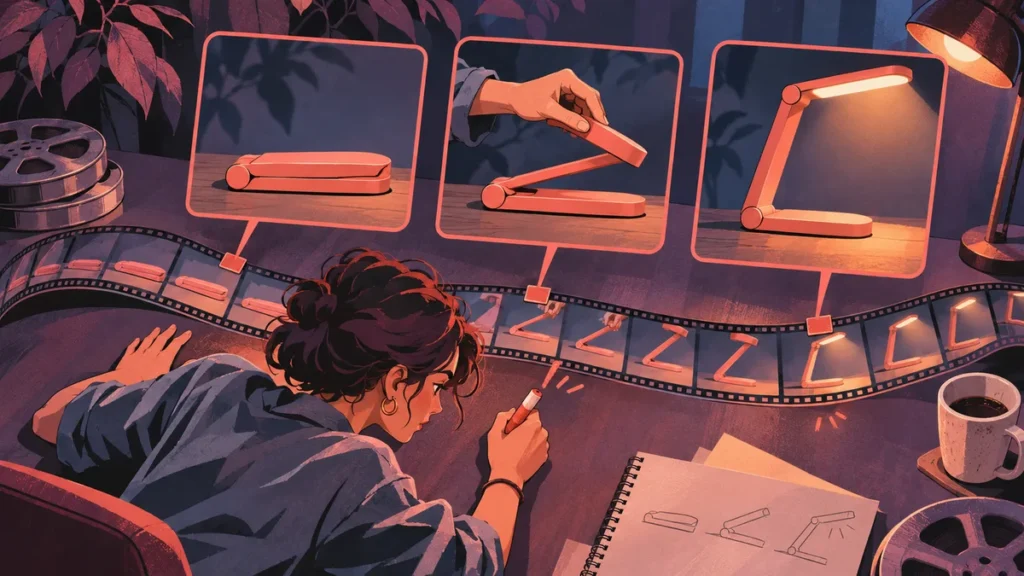
Start a batch editing workflow by transcribing the full recording and marking excerpts that each answer one audience question. Build rough cuts before you style them, then check the claims, sound and framing. Approve each master before generating caption files, covers or extra exports, so one late edit cannot put several files out of sync.
Prepare the recording and its context
Keep the original recording intact and make a working copy or a lower-resolution proxy for editing. Collect each camera angle, isolated microphone track, slide deck and asset permission alongside it. Write down who speaks, what the recording set out to explain and any parts you need to hold back.
For an interview, listen to the opening and a sample from each speaker before you send the files for transcription. Look for a mic switch, an unexpected audio loss or a gradual delay between separate audio and video. Catching a sync issue here saves you from correcting the same problem in every sequence. If the timecodes come from a rough live-stream recording, match them to the master file first. A pause during an upload or a trimmed intro can shift every timecode.
Create a short brief with the audience and one useful action. A founder interview on warehouse returns can speak to operations managers who need to inspect damaged stock or ecommerce teams choosing how to describe returns on a product page. A broad topic can come from one recording. Each clip needs enough context to make sense to one of those viewers.
Record permissions beside the source name. Check whether a webinar guest cleared short excerpts for social accounts and whether you can show the demonstration or the slides. Flag any names, account screens or details you need to cover. Use a rehearsal account or a cleared visual if a useful passage refers to a private screen. Review the export for readable background details as well as the main crop.
Find moments that can stand on their own
In the timecoded transcript, mark each passage that states a problem, shows a decision or delivers a specific result. Play the surrounding footage. Keep the shortest excerpt that preserves what the speaker meant, including a condition or qualification that affects the answer. Give each candidate a title you can read without the transcript.
Adobe Premiere’s text-based editing guide describes how its transcript follows source timecodes and can help assemble a rough sequence. You can use the same approach in a sheet and an editor. Keep the source ranges even if you use a tool that suggests clips. That gives the reviewer a way to hear the sentence before a candidate and verify that the selected passage preserves the meaning.
Take a hypothetical interview about deliveries. “That’s the reason we wait” makes sense inside a full interview. In a short clip, the viewer needs to know what the team waits for and why. Go back for the sentence that names the inventory check. If the camera footage includes a screen showing the check, add it to the list. If the speaker only describes an exception, label the clip with the exception so its title does not imply a universal rule.
| Candidate in this example | What the viewer gets | Edit decision |
|---|---|---|
| 07:12 to 08:01 | A way to spot duplicate return requests | Keep the example and its qualification |
| 14:04 to 14:36 | A screenshot of a damaged order | Hold until the screenshot clears review |
| 20:10 to 20:52 | How to tell buyers when a replacement ships | Start on the example message |
| 31:22 to 32:18 | A rule about one warehouse system | Include the system name in the opening |
Give the selection list enough context for a reviewer to say yes or no without opening the full recording every time. Group similar candidates by topic. If two cuts state the same rule, choose the one with clearer evidence and keep the other source range in reserve. Recordings can vary widely in yield. Allow yourself to stop when the remaining ideas depend on a full explanation or visually repeat a clip you already chose.
Build rough cuts before you choose a style
Give each clip a beginning that identifies the subject, a middle that does the work and an ending that delivers the answer. Review the sequence of pictures and words while timing changes are cheap. Keep a clean source reference and save the working sequence under a stable clip ID.
Start by removing introductions, repeated setup and housekeeping. Let a short, useful pause stay when it gives someone time to read a chart or see a step. If a sentence plays after a cut and its pronouns lose their meaning, extend the clip earlier or add a brief, accurate title. Check the source before you reorder language around a demonstration. The spoken instructions and the picture should still refer to the same stage.
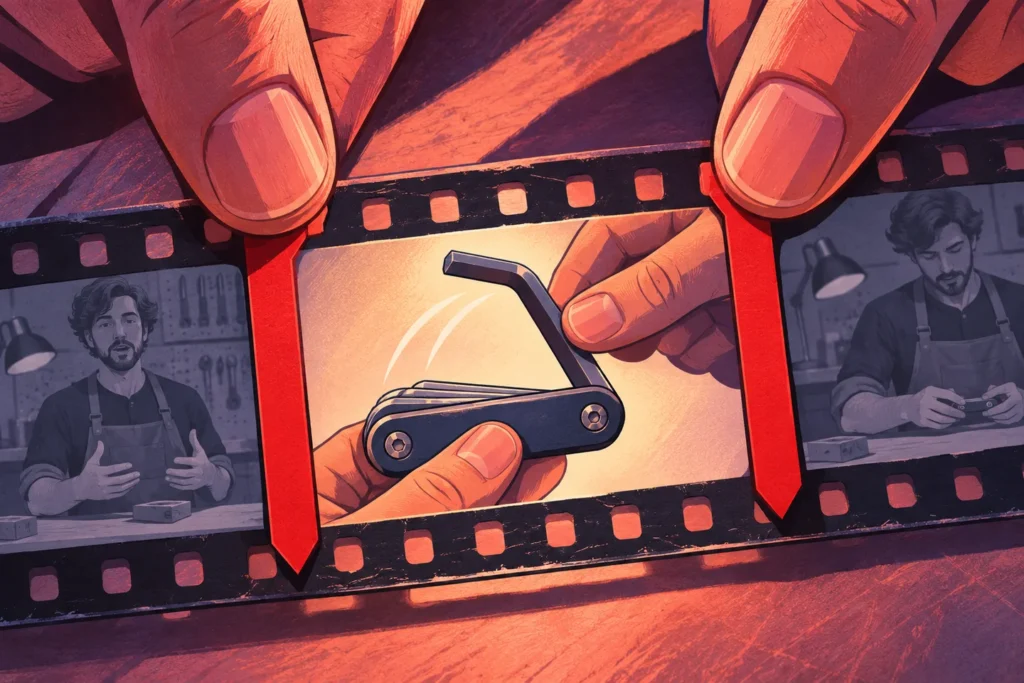
Use the first frame to tell the viewer what they are looking at. If a product tutorial starts on a close-up of a loose part, show its location before the edit asks viewers to identify it. If the clip starts with a result, make the evidence legible before you explain the cause. Watch the first rough cut from the phone size you expect the audience to use. You can often solve a long opening with a better shot, then decide how much narration the viewer still needs.
Review the rough cut with the source timecode next to it. A small trim can remove a qualifier like “for new orders” and turn a narrowly true statement into a broader claim. Ask the reviewer to check what the edited clip now says on its own. Resolve accuracy and story notes before an editor spends time on graphics for footage you may later drop.
Edit one example before applying a template
Finish a representative clip first and use it to set caption style, crop rules, graphic placement and audio balance. Copy the template only after the sample works on a phone. Adjust each clip for actual faces, movement, products and source screens so the template can handle the story on that specific timeline.

A template can give you the same font, line spacing and opening title position. A tight portrait crop might remove a speaker on the edge of a two-person recording. Switch to a vertical split composition when the viewer needs both reactions, or cut between speakers when the scene makes more sense one at a time. Watch hands, slide labels and important objects when you change the crop.
Choose supporting footage for a reason. Show the order status page while the speaker explains exactly where to look. A generic shot of boxes can let you hide a cut, though it cannot prove how an order status works. For a screen with small text, use a close crop or a graphic that repeats the exact button label. Recheck the screen capture after cropping and get approval if it displays a sensitive value or a customer name.
Set speech levels on a representative conversation. Play scenes with different speakers in sequence and listen for a large jump in volume. Turn the music down if a quieter speaker becomes hard to hear. Keep effects editable so you can supply an approved clean master when the channel has separate music requirements. Review a fast transition at normal speed because a frame that looks fine when paused can still make the scene hard to follow.
Caption the locked cut and check it on a phone
Generate captions from the final sequence and correct words, timing and speaker names against the source. Watch the clip with sound off and then listen without looking at the text. Check that captions communicate meaningful sound and speech, sit clear of useful action and stay readable against each background.

The World Wide Web Consortium caption guidance also calls out meaningful sound and speaker identification. A caption that names a warning tone can explain a visible reaction. A different color for each speaker can help, and a written speaker label gives the viewer the information when colors are hard to tell apart.
Read captions at the pace of playback. A technical word can force an awkward line break or crowd the frame. Break the caption at a natural phrase boundary and give the viewer enough time to read it while watching the action. Check that numbers, units and brand names match the approved brief. “Fifteen” and “fifty” can sound similar in a recording and mean different things in a short tutorial.
Use separate captions where your publishing workflow supports them, and keep a caption file with the master when you can. If you burn in captions for one destination, check whether native captions will duplicate them. Adobe’s caption documentation describes a separate caption track, which lets you correct or export captions independently. Preview text against current app controls before you release a variant.
Approve and deliver the actual exports
Track each clip by source and ID, then add the final master version, caption file, intended destinations and approval status to the same record. Export only approved masters. Open the files from the delivery folder and check them against the timeline, because the publishing team will see the shipped file.
Name exports so a teammate can trace them back without guessing. You might use warehouse07-clip04-v03 as a master filename and add the intended platform where a variant needs a different crop. Use the same version for the video, cover and caption file. If a correction lands after approval, hold the earlier export and update every dependent file before release.
Keep an export record even when the editor and publisher are the same person. A short list of files and dates helps you see whether a caption or soundtrack changed between the scheduled and live version. If an old export reached an app, identify it by the actual duration and frame before you replace it. Update the publication record so later reporting follows the right cut.
Group feedback by the part of the work it can change. Fix a story issue in the master. Fix a text placement problem in the affected rendition. If you see a similar problem across the batch, update the template and recheck a sample before re-exporting every cut. Ask the reviewer to sign off on the exact clip and version, especially when two drafts show near-identical first frames.
Watch the first and last seconds and any timeline section that has a change in music, subtitle timing or picture. Confirm the beginning starts where intended, the clip reaches its payoff and the audio carries through the final frame. Save a short note that tells the publisher which rendition to use and where the rights approval lives. Keep the approved files available when you compare results or prepare a new export.
Keep a repair path for late changes
Give the batch an internal edit cutoff with room for work that arrives late. Keep a reusable copy of each working timeline, and record which exports inherit a change from the master. You can then repair one clip without opening unrelated work or asking the publishing team to guess which file supersedes an earlier one.
Suppose a reviewer flags an incorrect delivery time in a warehouse tutorial. Open the source, confirm the correct wording and check whether the error appears in speech, captions, overlay text or the post copy. If you can repair it from another approved take, update the master and captions together. If the source lacks a correct take, hold the affected clip and ship the rest of the batch. Replacing a spoken claim with a title card can leave the original spoken error audible. Review both tracks before closing the change.
Keep release records that match the social content plan. A row can show which tutorial answered the original viewer question, which destination carried it and where the current version lives. If you track content traffic and enquiries, use those records to trace the results to the actual edit. When a video leads viewers to a landing page, check the page’s conversion rate from the relevant visits and actions. Editing records help you find the exact cut if you need to compare its promise with what the page offers.
Make your next recording easier to edit
After the first batch, review which source passages shipped and which needed extra work. Bring the lessons into the next recording. Ask the speaker to state the subject at the start of an answer, record a clean view of the product, or provide a demonstration account that can appear on camera. Keep the editing changes focused on the steps that delayed release. If you want help turning existing recordings into an ongoing publishing schedule, request a free growth audit through our short-form video and social creative service. Bring one source recording and the kinds of questions you want the clips to answer.
FAQ
How many short videos can I make from one long recording?
Count the passages that answer a distinct question, preserve the context and have clear audio and useful visuals. A recording with standalone demonstrations can offer more cuts than one long story that needs its full setup. Review the transcript and the footage before you set a publishing target.
How do I choose the best clips from a podcast or webinar?
Mark concrete answers, examples and demonstrations in the timecoded transcript. Then watch the seconds before and after each passage. Keep clips that make sense to people who missed the original recording. Include any condition that changes the answer, and check that you can use the guest’s words and visuals.
Should I auto-caption the rough cut or the final cut?
You can use a transcript during rough editing. Create the delivery captions from the final timeline so each line matches the approved edit. Correct numbers, names, technical words and speaker labels, then watch the export at phone size to check timing and placement.
How do I convert a widescreen recording into vertical clips?
Reframe each section for a portrait canvas and check what the original crop removes. Use close crops, split layouts or cutaways when they help the viewer follow a two-person exchange or a screen demonstration. Keep captions away from useful content and preview the result in each destination.
What files should an editor deliver with short videos?
Ask for the approved master, named platform exports, caption files where needed, covers and the current file list. Keep editable project files or a clean master if you expect to make future changes. Record the source and approval version so a publisher can identify the correct files.
You're All Set!
We have your request.
Expect a reply from our team within 24 hours. Want to talk sooner? Pick a time below.
Or call us at +1 (914) 297-6638